Showing posts with label beans. Show all posts

Thursday, May 27, 2010

Iain & Emily's Tacos Verdes

Well, it's official. If we hadn't gone foodie before, we certainly have this time. Several weeks ago we decided to make some experimental tacos. We each focused on making about half of the components, while conferring with each other for the overall palette, and the end result was mindblowingly awesometacular. With that last sentence, I probably just gave away that it was Iain writing this paragraph.

This recipe is a little on the intensive side, but it didn't seem hard to make at the time, especially with two people working on them. It was mostly a really fun experience to make, and the combination of flavors hitting your tongue is exquisite. Think hearty yet crisp and fresh at the same time. Did your mouth start watering there? Yeah. I thought so.

Tofu Tacos Verdes

Ingredients
Salsa Verde
2 tomatillos, diced finely
1/8 cup onion, diced finely
1 clove garlic, crushed

1 tbs lime juice

shake of garlic powder

1 Serrano pepper, minced and seeded

Onions/chili mixture
The rest of the onion, cut into rings
1 ancho pepper, diced
2 cloved garlic, minced
1 Serrano pepper, minced and seeded
1 green bell pepper

Tofu de Excellence
1 half of a container firm tofu, pressed
a few glugs vegetable oil
3/4 tsp cumin powder
small handful corn meal
chili powder
more cumin
salt

Other Components
5 flour tortillas
Habanero Jack Cheese (a little), grated
Tillamuk Cheddar Cheese (a lot), grated
1/2 can frijoles negros refritos (refried black beans)
cut up cilantro

Music Listened To
Putamayo's
A Jewish Odyssey, courtesy of Emily's iPod.

Procedure

Well, I (Iain) shall begin be reporting on the parts I produced, and then I shall hand the keyboard over to Emily.

1. The salsa! After you've prepped all the above ingredients, turn to your friend, the food processor. Place 3/4 of tomatillos, the onion and the garlic in the blender and pulse it on low a few times. Mix with the remaining diced tomatillos and the other ingredients in a small mixing bowl and mix. Using the food processor is totally optional, but doing it this way gets most of the salsa nice and smooth, but still with chunky bits. Note that this will have a very potent taste, so don't overload your tacos with it.


2. The Tofu
  • Press the tofu. Ideally, you should do this by placing it between two plates and putting something heavy on top (like a can), leaving it for 15-20 minutes. If you're short on time, just hold the tofu in your hands and squeeze it gently over the sink to release some of the water. Then cut the tofu into inch-sized cubes
  • Generously oil a pan and put in 1/2- 3/4 tsp. cumin seed. Let blacken over high heat, then turn down to medium.
  • Mix the corn meal, chili powder, ground cumin, and salt on a plate or shallow bowl. Roll or dip the tofu cubes into the dry mix and fry over medium heat 'til crispy, turning to fry each side and adding additional oil as necessary.
  • When done, leave the skillet coated in the spice for the onion mix, and if you have leftover cornmeal mix, dump that in as well.
3. The Onion/Chili Mix
  • Cut the onion into thin rings and saute over medium heat in the leftover spice mix from the tofu, adding more oil if needed.
  • Add the diced ancho, followed by the serano and 2 cloves of garlic. We also threw in some minced cilantro stems, reserving the leaves for the top.
  • Stir in the green pepper, then cook for a couple minutes more, removing while the pepper still has a bit of crunch.
4. The Assembly
  • Soften tortillas by placing in a dry skillet over high heat for 10-30 seconds a side.
  • Put on a layer of beans, followed by some of the onion mix, then 4-5 pieces of tofu.
  • Add cheese (if you get your hands on habernaro jack, a little goes a long way!), cilantro, and lettuce if desired, and drizzle a line or two of salsa, but take that easy because the flavor's quite intense! And enjoy, whether you're a foodie or not.

Saturday, May 1, 2010

Mexican Suns! (with baked tortilla chips)

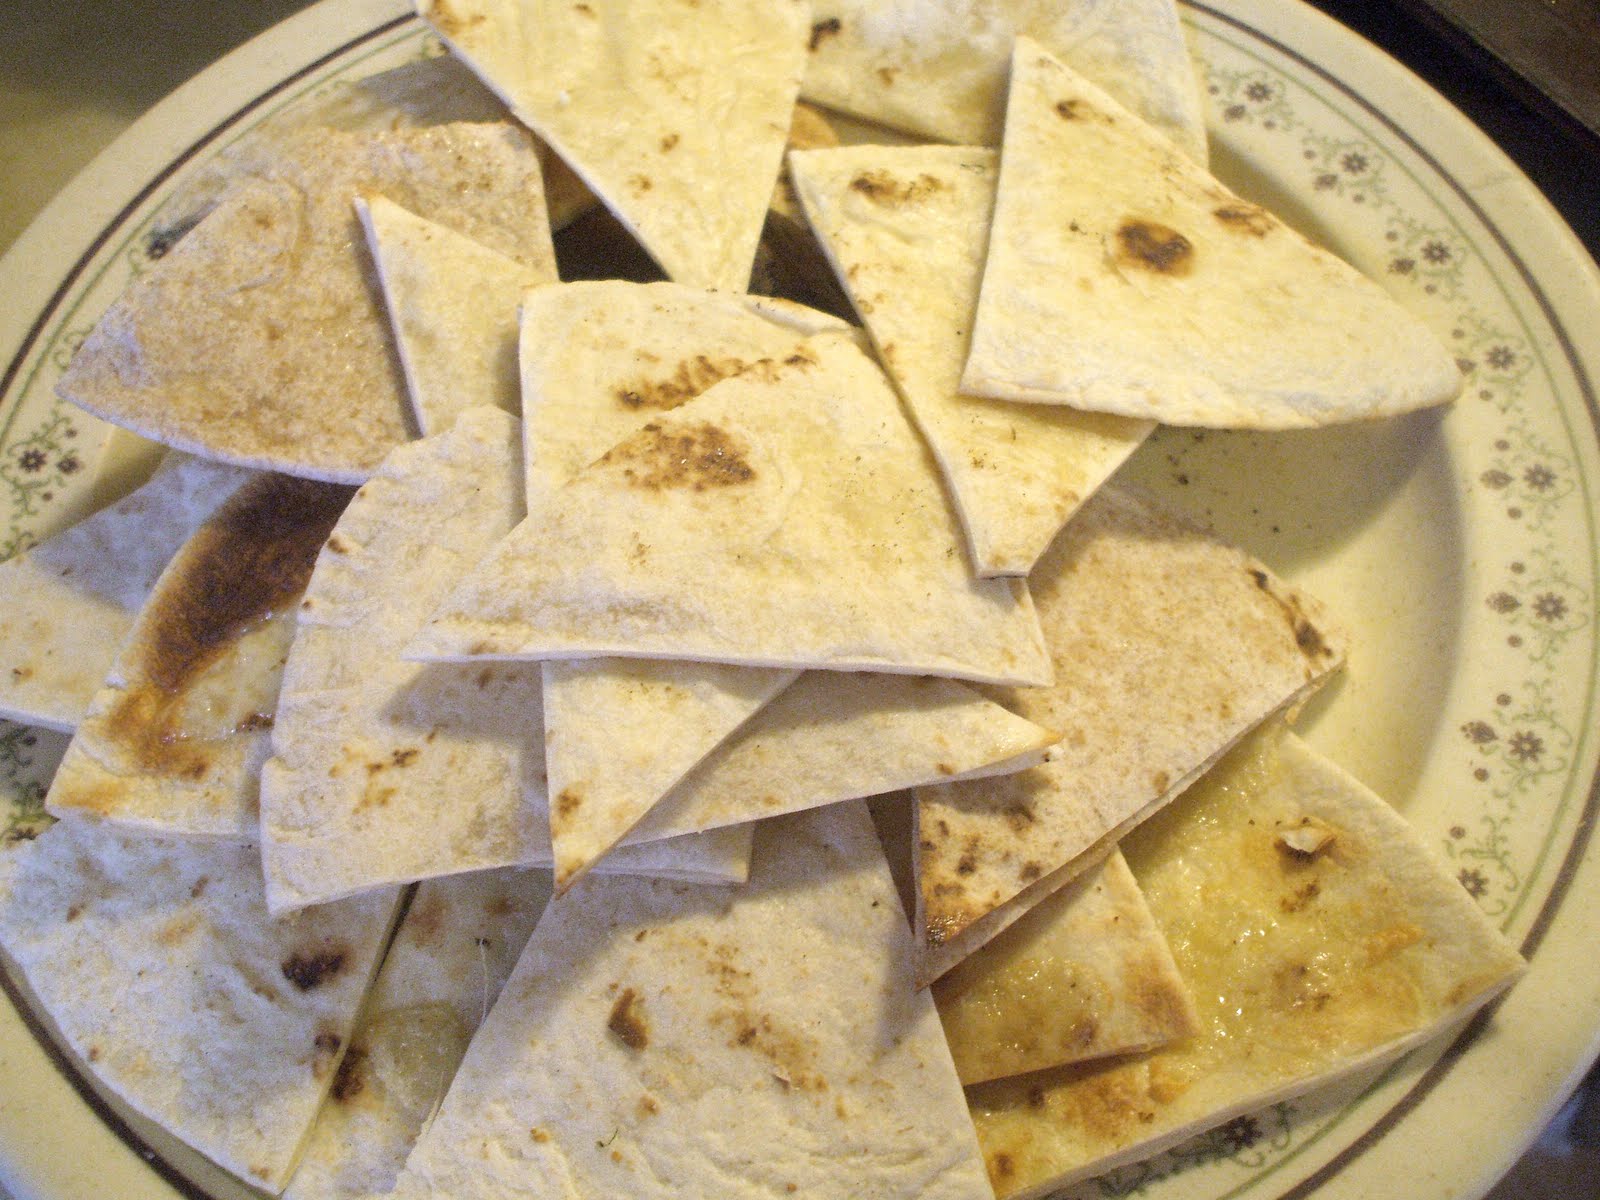
Ok, so maybe these aren't authentically Mexican. Having never been to Mexico, I (Emily) don't know much about what authentic Mexican food is. However, these taste good, come together quickly and easily, and look like suns when they're done.

This dinner resulted from Iain getting home from work, exhausted, after a 10 mile (mostly uphill) bike ride. I, having been home from work for several hours already, was excited to cook. So I decided to play around in the kitchen while Iain showered and woke up a bit. The Mexican food resulted from the fact that Iain decided to buy tomatillos and other delicious things at the co-op this week, and I happened to have frozen corn.

Don't be intimidated by the relatively long ingredient list, as the veggies can be easily subbed in and out for each other and proportions easily adjusted.

Mexican Suns!

Ingredients
  • dash vegetable oil
  • dashes of cumin, chili powder, and garlic powder (adjust to taste)
  • 1 tomatillo, cut into small chunks or slices (feel free to use 2 if you've got them
  • half an onion (I used red-- yellow or white would work too, I'm sure)
  • 1-2 TBS tomato paste
  • 1 canned chipotle pepper in sauce, chopped really small
  • 1/2 green pepper, in small chunks
  • 1 can beans, rinsed and drained (I used a mix of kidney, pinto, and black. Use whatever you've got)
  • 1/2 bag frozen corn
  • 1/2 yellow pepper, in small chunks
  • 1 tomato, sliced or diced
  • 1/2 c. grated cheddar or jack cheese
  • bunch of cilantro, chopped
  • 3-4 flour tortillas, sliced into 6-8 wedges

Procedure
  • Prep the tortillas-- lightly oil a baking tray, place the tortillas on it (this may take two batches) and turn to coat. Sprinkle the wedges lightly with cumin, garlic powder, grated cheese, or a combination.
  • Heat the vegetable oil and toss in a little cumin, garlic powder, and chili powder. Add the onion and saute over medium heat for a few minutes, until it grows translucent.
  • Add the tomatillo. Cook over medium for a few minutes, then turn up to high for a minute or so in order to slightly brown the outsides. Turn back down to medium.
  • Stir in the chipotle pepper, tomato paste, and green pepper. (I also like to add a little of the cilantro here.) Cook over medium for a few minutes, until the pepper is starting to soften.
  • Add the corn, beans, and more of the cilantro, reserving a bit for the end. Add more cumin, chili powder, and garlic powder if desired.
  • Once everything is heated through, remove from heat and stir in the tomato, yellow pepper, reserved cilantro, and some of the cheese.
  • Broil the tortilla wedges for 1-3 minutes. Watch very carefully or they will burn.
  • Serve, preferably in the shape of a sun, with bean mix in the middle (topped by more cheese) and wedges around the outside.

Sunday, April 25, 2010

Sloppy Bozzies

Good evening! I would like to share with you tonight, or today, depending on your time zone, a childhood favorite of mine adapted for the particular circumstance of Iain and I being both under pacts of vegeterianism and, for him, an abstinence from high fructose corn syrup. Thuswise, this dish became an experiment for me in slow-cooking a hearty and manly all-vegetable dish. For these were the days of the MAN HOUSE, when Emily had left and we had yet to reconvene the Boshenke household in Chicago.

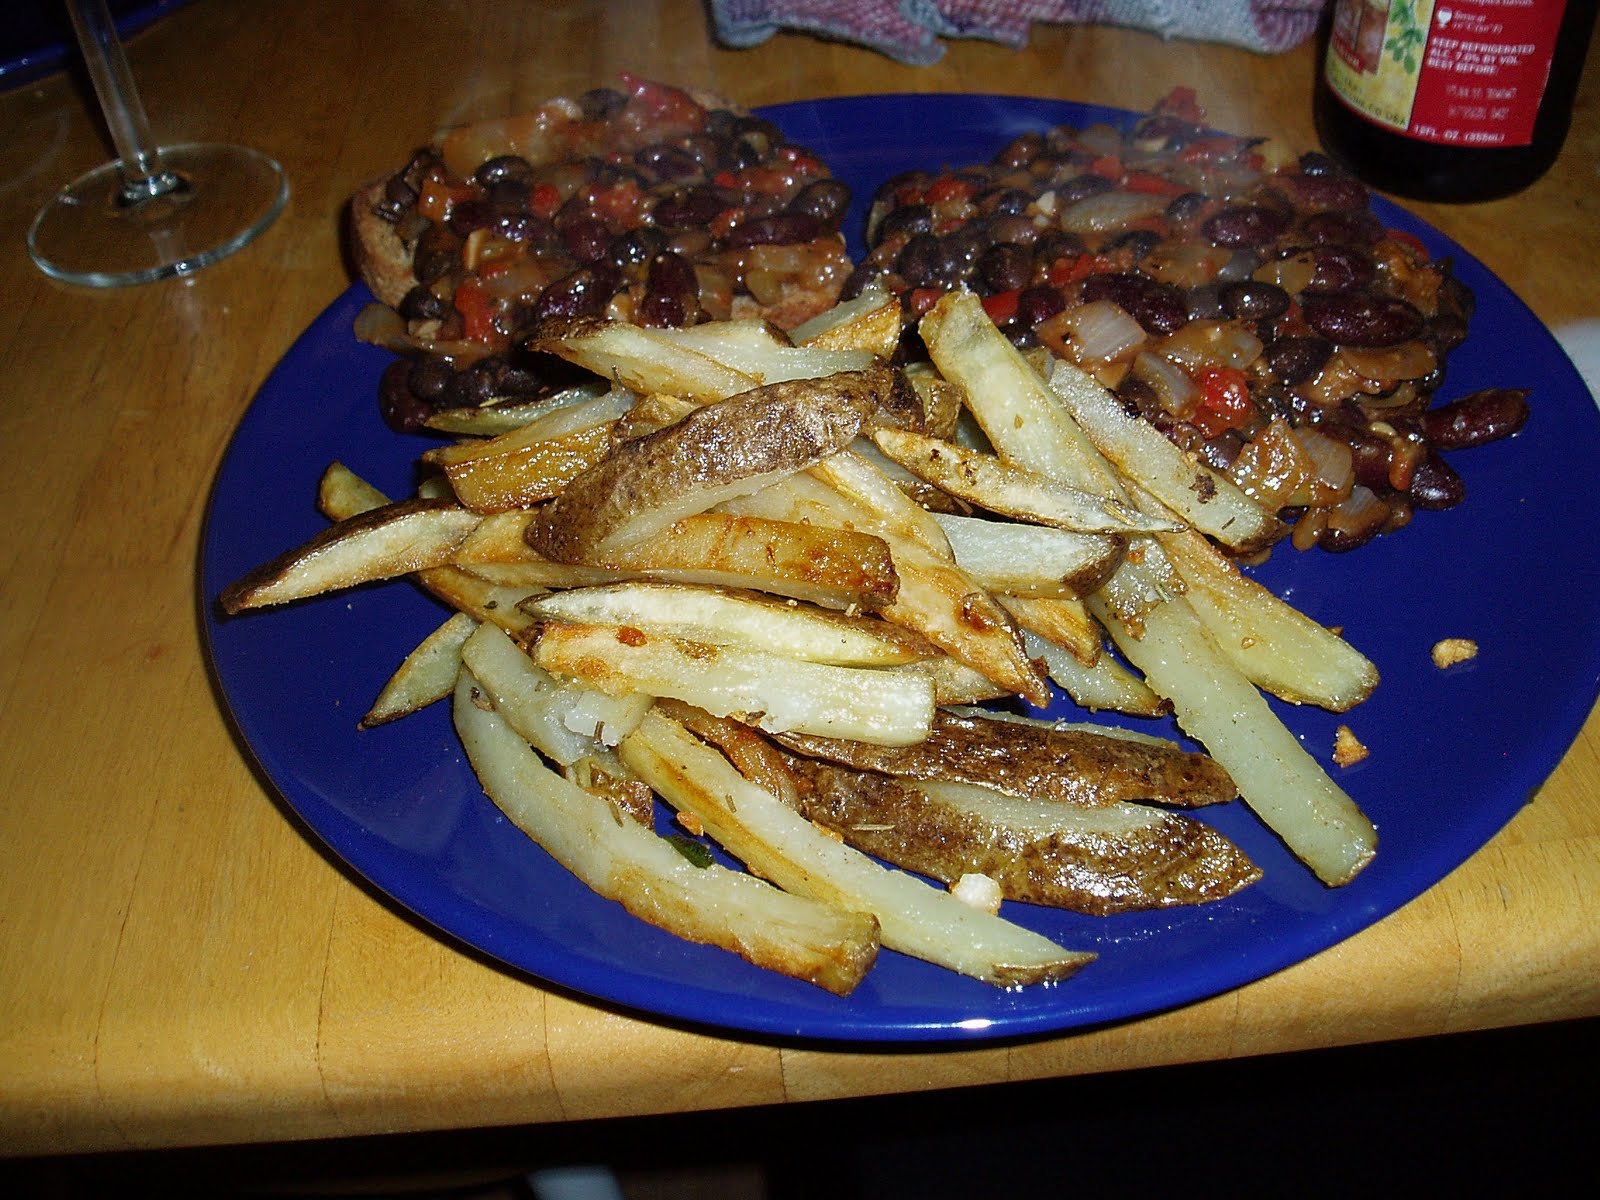
Iain taking over the keyboard for a minute here. This dish was a really fun collaboration, and I might actually say I enjoy it more than the original! My main contribution aside from sous chef/consultant was the pan-fried french fries, which is a lovely side I recommend coupling many-a-dish with. These are pretty different from the chips of my fish and chips recipe, so ready your taste buds!

Sloppy Bozzies

Ingredients
3 Tablespoons veggie oil
2 celery ribs
1 onion
1 bell pepper
6 garlic cloves
4 cups red and black beans
1 teaspoon thyme
1 teaspoon cumin
salt and pepper
1 Thai pepper
1/2 cup beer
1/2 cup ketchup (OH NO!! Iain had lenten vows of no high fructose corn syrup, and our ketchup had it in it. Here's what we substituted: 1 tomato diced, 1-2 tsp cider vinegar, several glubs Worchester, 2 Tablespoons corn meal, 1 Tablespoon tomato paste)

Music: Green Day, hehe

Procedure.


1. Finely dice celery, onion, and bell pepper, and garlic.
2. Cook over medium heat in an oiled wok or large skillet: onion, peppers, garlic, celery, beans, and salt and pepper! Have this going for 10-15 minutes, until onions are softened and nicely translucent.
3. Add beer, Worchester, and ketchup (or ketchup substitute mixture). Partially cover and simmer for 15 or so minutes, but if you have longer, let the heat be lower and cook it for longer. I think this dish would be even nicer if it had more time to soak in the flavor.

Pan-fried Garlicky Fries
Ingredients
About 1 1/2 russet potatoes per devourer (or 2 if the devourers are bottomless pits)
About as many cloves of garlic as there are potatoes
A couple sprigs worth of rosemary
About 3/4 cup canola oil (for 4 potatoes)
salt

Procedure:

1. Alright ladies and gents, the key to making these fries with maximum deliciousity is to properly season your oil first. About 1-2 hours before you begin frying, put your oil in a jar and add the garlic (minced) and rosemary (broken if fresh) and let it sit. Once in a while it helps to stir it, but the main idea is to let the oil soak up the garlicky and rosemary-y juices.

2. Proper fries procedure! This step is nearly identical to the chips of my fish and chips recipe. Cut up your potatoes into whatever shape you want and let them soak in a bowl of cold water for about ten minutes. Once the time is up, drain em and dry em!

3. Skillet time! Pour about a half cup of your oil into your skillet and set it to high heat. Make sure NOT to put in your garlic and rosemary with the oil - you do yourself no favors by burning these tasty morsels to a crisp! Add about 2 potatoes worth of the fries to the oil and let them sizzle! Keep a close eye on them, and check their undersides frequently. Once they're starting to turn a crispy golden brown, flip them using a spatula or your preferred flipping utensil. Let them go another few minutes, adding some garlic and rosemary right before you're ready to take them out.


4. THEY'RE BROWNED! TAKE THEM OUT!! TAKE THEM OUT!! Phew, that was close - that one looks a little blackened. Good thing you have me to keep an eye on you. Place them in a bowl or on a plate with a paper towel to absorb the runoff oil. Put the place somewhere warm, like inside an oven set to warm, perhaps. Add the rest of your oil and fry up the second batch. These will go faster than the first, so be ready to flip them faster, but still follow the same general procedure as above.


5. Aaaannd, that's it! You're done! Serve them up with some sloppy bozzies and enjoy!


I hope you enjoyed our joint post this evening (it was afternoon when we started it) as much as we enjoyed cooking it. Well, I guess that'll only happen if you cook it. So cook it! Tada! I'm hungry - I'm going to go make food now. Tata!

Sunday, April 18, 2010

Beans & Rice

Hello everybody,

So, I (Iain) just flipped through the recent Yummies! posts and found that the last time I posted an actual recipe was in... February. Sad. Although I did participate in cooking many of the recent featured dishes. But still, the most recent post I did was a collaborative April fools dada extravaganza, so I'm here to fix that, by posting an EXTREMELY MINDBLOWINGLY DIFFICULT DISH TO MAKE.

So, ladies and gentlefolk, I give to you...

Beans and Rice - Boshenke Style


Ingredients
Beans
Rice

Procedure
Make beans and rice.

Tada!

Okay, for real this time...

Ingredients
1 cup uncooked brown rice (white works too)

2 14.5 oz cans of beans (I like to go with one black, one red)
1 can diced tomatoes
3 or 4 cloves garlic
garlic powder
cumin
chili powder
salt
black pepper
1 tbs olive oil

Optional Ingredients
1/4 to 1/2 white onion, diced
1 red chili, diced
ground coriander
a pinch of oregano
1 green pepper, diced
cheese

Music Listened To
Good lord this was long ago. I'm going to guess... Rodrigo y Gabriela

Procedure

1. Cook the rice (if you don't know how, you boil the 1 cup of rice in just over 2 cups of water in a covered pot).

2. Heat the olive oil in the skillet. If you're using onions, toss them in first to let them soften. Once that's done (or if you're skipping that), put in the beans, preferably drained. The main idea is just to let them heat through, so you don't need to heat them alone for long. Add the garlic and other seasonings and stir them in (choose your own proportions!). Let it simmer to let the flavors meld.

3. If you're using green pepper, go ahead and add it now. Once it's absorbed the water, add the rice and stir it in. Lastly add the tomatoes and let the whole thing heat through. Adjust seasonings as necessary.

4. Serve up in a big bowl and top with grated cheese (right now we have some habanero jack from the coop - intense!)


And that's really all there is to it. You can make this dish super simple, or actually kind of extravagant. It's cheap, delicious and very filling, and usually you get at least one or two good lunches out of the leftovers. Perfect Americorps food, in fact...

Thanks, and see you in like a month and a half!

(Joking)

(I hope)

Monday, July 13, 2009

Vegetarian Tamales

Howdy all!
So here is my first food post. I hope you enjoy it!

Vegetarian Tamales
Ingredients:
5 ears of corn
1 canister of cornmeal
Lime Juice
Garlic Powder

Salt
1 can of frijoles negros (black beans)
6 Tomatillos
1 Onion
Cumin
Chili Powder
2 Jalapen
os
Cheddar Cheese

Kitchen Equipment
Knives
Cutting Boards
Skillet

Medium Bowl
1 can of frijoles negros (black beans)

Large Pot

Metal Caulinder
Pan for soaking

Music Listened To:
The Rough Guide to Irish Music

So Tamales are a pretty intimidating dish. That's why I'd never attempted them before now - everything I'd heard made them sound pretty difficult, and they're supposed to take forever to make.

BUT

It actually turned out to be pretty straight forwa rd. It all broke down into 3 basic steps of 1) prepare masa 2) prepare filling and 3) put masa and fillings in husks and steam for 2 hours. If I can make them, you bet your butt you can too.

Part I: Making Masa
So if you have a nearby place that will sell you true masa, go ahead and buy it and prepare it according to package directions. That is, if you want to be boring. The way I chose was far more amusing to me.

1. First of all, I shucked my five ears of corn, being careful not to tear the husks. Set these aside to soak in a pan, bowl or sink.


2. Cut the kernels away from the cob into a bowl. Be generous - every bit of corny goodness helps. The cobs can just be thrown away.

3. This is the part where I felt simply deranged. If you have a blender and want to be boring/sane, go ahead and use it. I, on the other hand, used the nearest available equipment, and bashed the hell out of the corn with a can of black beans. Aside from taking half an hour, it was actually quite fun. Don't waste your time pounding up and down, though, as fun as it is - pressing straight down and twisting the can back and forth to grind the kernels is much more effective. Do this until the kernels are barely recognizable as kernels.

4. There should be a fair amount of liquid in the bowl at this point. To make the consistency more masa-ish and to get rid of the liquid, start adding cornmeal and mixing it in. Keep adding it until you get something resembling the consistency of chunky peanut butter (probably about 2 cups of cornmeal, give or take).

5. Mix in some lime juice, a generous amount of salt (at least a teaspoon) and a generous amount of garlic powder. Congratulations, you now have masa fresher and yummier than anything you'd get in the store. Set it aside.


Part II: Making the Filling
The nice thing about making vegetarian tamales is that, since tamales are normally made with meat, there is no standard of what to put in them. Pick whatever veggies or cheeses you want. The important thing is to get plenty of cumin and chili powder in there. Being a fan of beans, tomatillos, onions and Jalapenos, I used those. If you prefer tomatos, avocados, bell peppers and Japanese eggplant, go ahead and use those.

1. Chop your veggies, grate your cheese, all that good stuff. Make sure to throw away the tomatillo husks - they aren't edible. If using hot peppers do NOT stick your finger in your nose after chopping. Seriously.


2. Start cooking the onion first, then add the tomatillos and beans. This stage of the process looks really pretty. Put in plenty of cumin (at least a tablespoon) and plenty of chili powder (at least two tablespoons). Stir in your cheese and Jalapenos towards the end. That's all for that section, folks!


Part III: Assembling and Steaming Tamales
Here's where things get fun (well, funner, at le
ast. It's hard to beat bashing the corn though...) Use the pictures as a guide.

1. Put your pot with a little water on the stove to boil.

2. Take a corn husk and hold it open in your palm. It should be nice and pliable after soaking. Take a few forkfuls of masa and spread it around th
e husk, leaving 1/3 of it on the right side clear, and probably only covering the bottom half of the husk. If it is a small husk, feel free to cover the whole thing and down the line use another small husk to finish the wrapping bit.


3. Take a light spoonfull of the filling and make a little trail of it down the center of the masa. If you put in too much, the tamale will be difficult to wrap shut. If you are Emily or generally sympathetic to her love of cheese, feel free to add some cheese on top of the filling.


4. Wrap the tamale into a cylinder, using the uncovered third of it to cover up any exposed masa or filling. There should be a little "tail" of husk that doesn't have any masa or filling in it. Bend the tail so that the tamale can sit upright. Set it in the caulinder vertically (most recipes call for a real steamer, but hell if I'm going to spend $40 on a pot and steamer so I can make tamales). Repeat steps 2-4 until you have as many tamales as you can fill.


5. Set the caulinder on the rim of the pot and leave the tamales to steam for 2 hours. Use this time to watch a bad movie, snuggle and/or make a side dish (we did spanish rice, you could also do rice and beans, or whatever you want, really).


And there you have it, folks! Veggie-friendly tamales! Definitely something to do when you have a few spare hours to do cooking - not just a weekday dish, but it's definitely worth the time. Enjoy!